As a fashion designer, creating a clothing pattern is just the beginning of your manufacturing process. You have a few options to work with when it comes to creating a fashion pattern. You can work with a product development company, a pattern maker, or create your own pattern. By creating your own pattern you will save time and thousands of dollars down the line.
The Process of Pattern Making
Every garment requires a basic pattern with clear instructions on how to construct the piece. Without a clear pattern, garments would lack consistency, which will cause problems for your company and customers.

To create a clothing pattern you will need to:
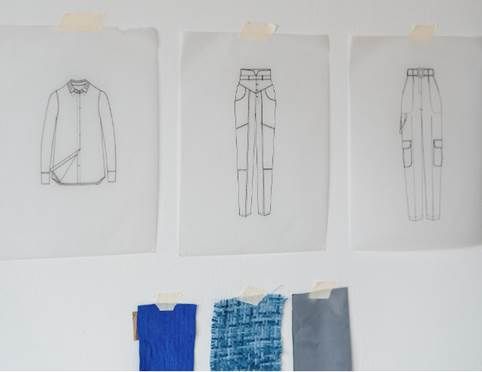
1. Draft your Design – This is where you draw an illustration of the article you’d like to be made.
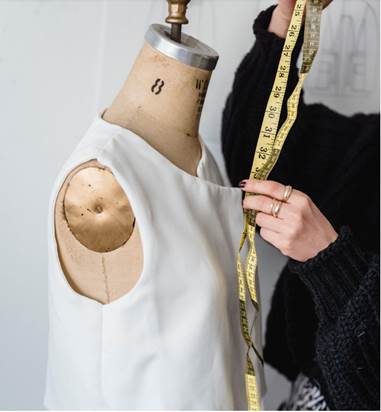
2. Take the Measurements – Be precise about every measurement. For example, for a t-shirt you’ll need measurements for the chest, waist, seat, biceps, length of shirt, shoulder width, sleeve length, and collar size.
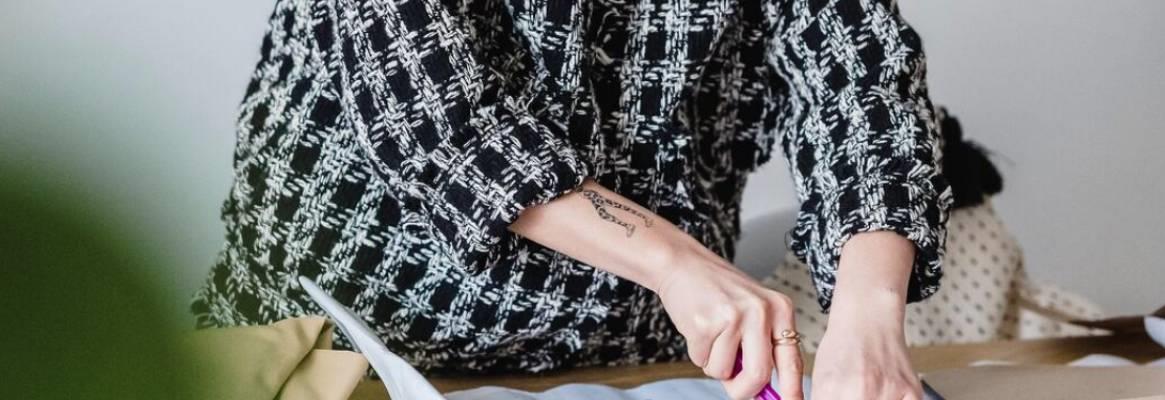
3. Plot the Length of Your Pattern – Now that you’ve taken your measurements, you can begin to plot your pattern. Draw your pattern on drafting paper, such as alphabet paper or manila pattern paper. Then, draft your pattern pieces.
4. Include a Seam Allowance – Once you draft your pattern with the correct measurements, add a seam allowance. Typically, 1/4 to 1/2 of an inch is the standard allowance.
5. Label Each Piece and Their Measurements – Now that you have everything
drafted, label each piece and what part of the garment it is along with their measurements -- don’t forget to add in the seam allowance. By doing this you will be able to keep the pattern in order and organized.
Sewing, Fitting, and Revisions

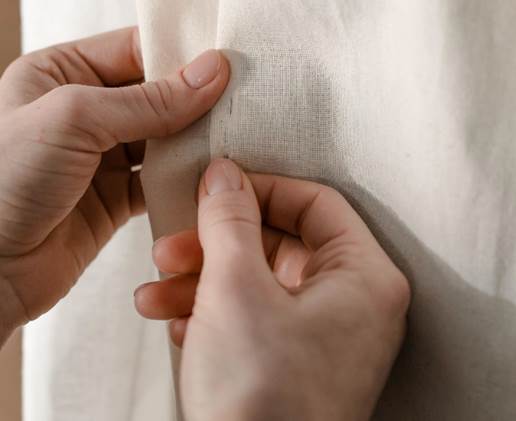
Once you have finished creating your in hand clothing pattern, use it as a guide to sew your first piece together. Make sure that your fabric is close in material to your anticipated production piece as this will serve as your first sample piece. By sewing your garment together yourself, you will see what the final product looks like. You can then try it on yourself or a model to see how it fits on the body. If you like it, you can then start the digitizing process. However, if you realize that an area in the clothing piece isn’t fitting right, you can make revisions before moving forward.
Pattern Digitization
There are various ways to create a digital pattern for garment construction. Many are made in Adobe Illustrator, but you can also use a tool like Optitex Pattern Design Software if you don't easily have access to Adobe Creative Suite.
All digitized patterns should be saved in PDF Format. This format is used because it is easy to download and use. If you are having difficulties with the process of making your own digitizing your pattern or would prefer to not create your own digital pattern, you can hire a freelance designer using a website such as Apparel Tech Pack Freelance Designers. Once you have created your digital pattern, you can put together your tech pack.
Create a Tech Pack

A tech pack has all the production information that a designer, pattern maker, manufacturer, or product developer needs to professionally produce your clothing garments. This includes each component and measurement needed to take your pattern from nothing to a finished garment. Nearly every single manufacturing company that you work as a fashion designer will require you to have a tech pack to begin the manufacturing process. You can read here to learn how to create a tech pack and about everything that you should include in your tech pack.
Creating a digital pattern ready for manufacturing may be a tedious process, but with patience, persistence, hard-work, and dedication, creating your own digital pattern will save yourself money and time in the long run. Waiting on a third party to create a tech pack and create multiple samples could cost you weeks, if not months. From the comfort of your own home and by following this guide, you can create a digital ready-to-use pattern at the manufacturing level.
This article has not been edited byFibre2Fashion staff and is re-published with permission from makersvalley.net


Comments